Sunday, November 20, 2011

Week 13

This was my last week on clarinets. I had to finish my project clarinet and even had time for an extra project that I did not think I would have time for. In order to finish my project clarinet I had to learn how to cork a tenon. To cork a tenon I used a #4 natural cork. I marked the cork according to width of the tenon and trimmed the piece. The strip that I cut I beveled one end so that the seam would be more cohesive. To soften the cork so that it is more pliable I hit it with my delrin hammer. This softened it and made it curve. To install the cork contact cement is used. When installing the cork a cosmetic thing to take into consideration is have the seam at the back of the clarinet by the thumb rest or opposite of the logo. This makes the cork aesthetically appealing. Once the cork is in place it is time to sand it so that the tenons will fit together. After the cork is sanded to the proper fit it is time to seal the cork. To seal it paraffin wax is rubbed on the tenon and then heated up to create a seal. This procedure is done twice. (Make sure when heating the tenon that you do not burn the cork, it is very easy to do) After the paraffin wax is melted the tenon cork is finished.

Old tenon cork

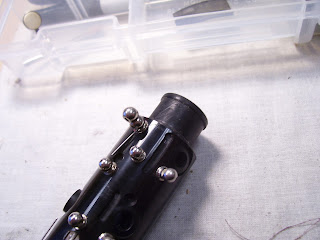
Cleaned tenon and ready for corking

Strip of cork cut for the tenon

Bevel on the end of the cork


Bump created where the cork overlaps
Sanding the cork to the correct size so the tenons will fit together

Sealing the cork with paraffin wax

No comments:

Post a Comment