Monday, January 30, 2012

Second Semester: Week 3

This week I got my project french horn! The first thing I did was write up the work order slip. Next, I started to disassemble the horn and pre-clean for a chemical flush. I ran into three stuck slides. I put penetrating oil on the slides and set the horn aside to let the oil work. One of the slides came out with some tapping. I tapped the other two but they wouldn't budge. I heated the slides and tried to get them out but that didn't work either. I had to use a drift punch and hammer in order to get the third slide on the F side out. The third slide on the B-flat side came out when I tapped on the spanner brace.

Project horn

Stripped lacquer

Reynolds 

Back side of the horn 
Fourth valve full of corrosion
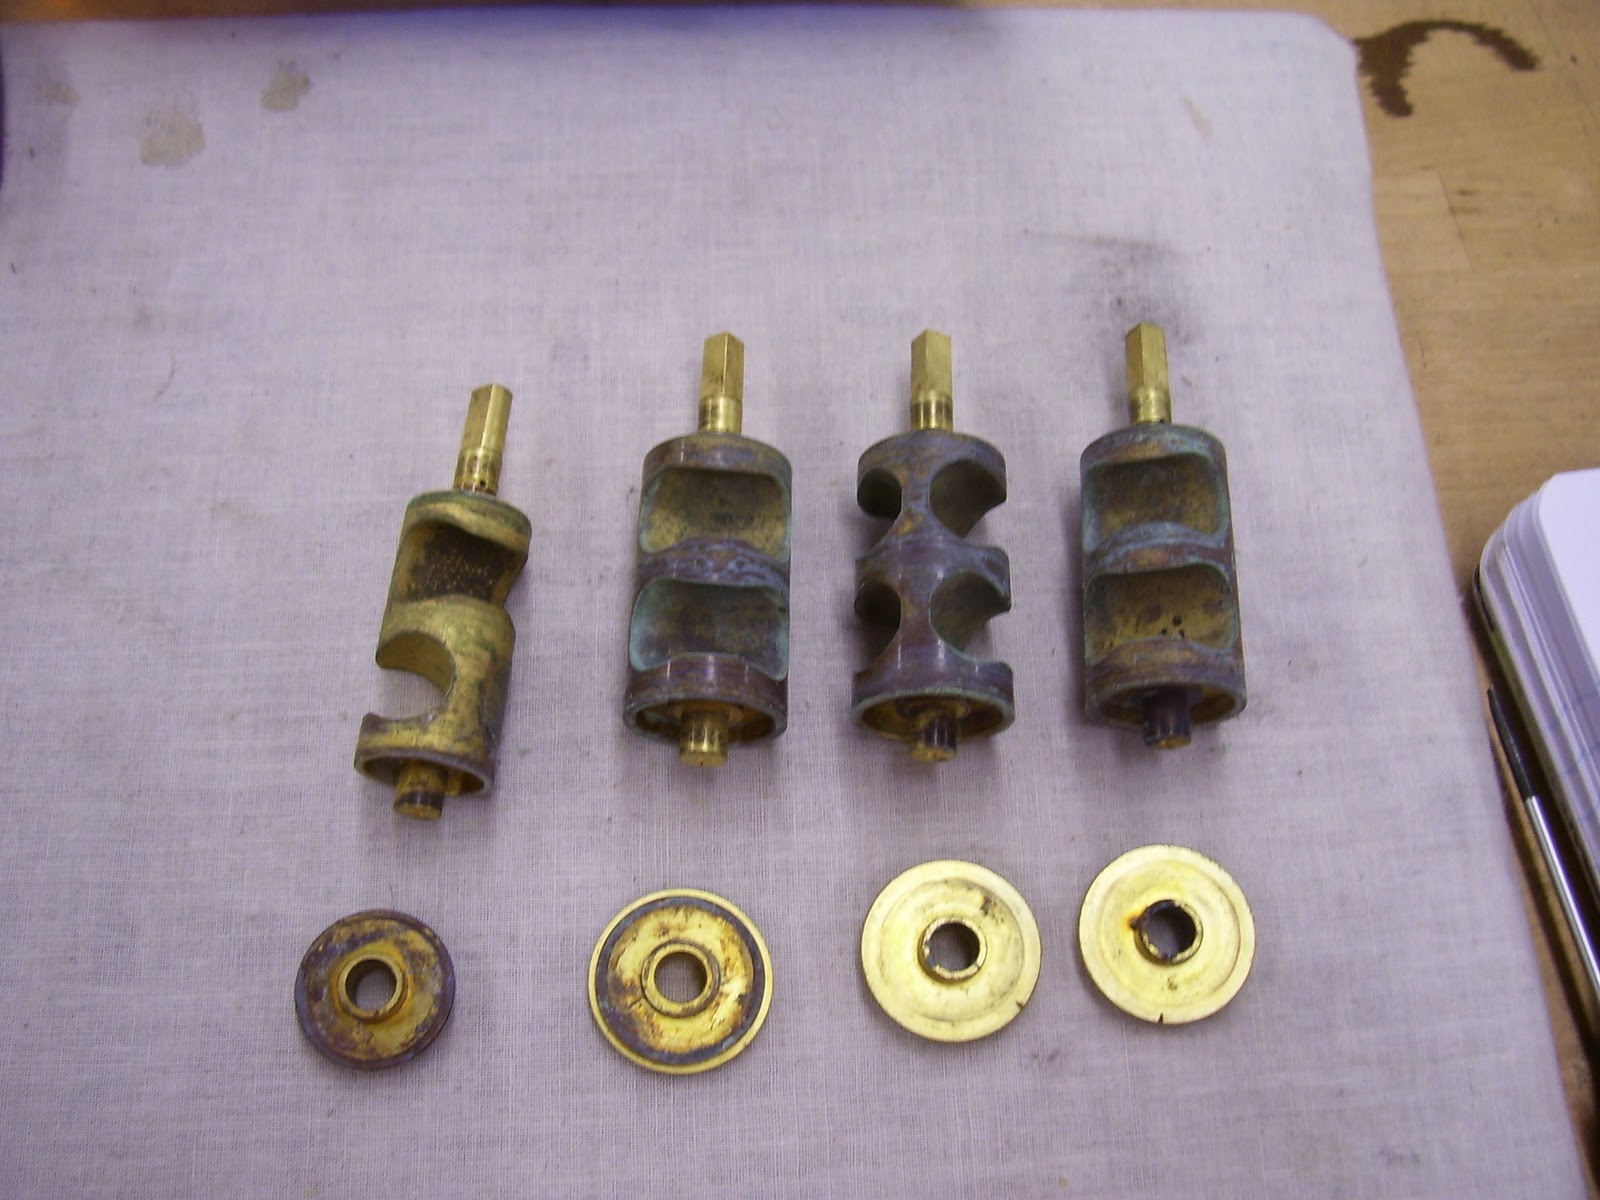
Scale on the rotors

Parts pre-cleaned and ready for a chemical flush

The slides that were not stuck

Sunday, January 22, 2012

Second Semester: Week 2

This week I learned about casing repairs. This included thread repairs, casing dents and piston action. First I worked on thread repair. The first thing to do with thread repair is to make the casing round. I did this by finding the correct size dent ball that fits in one of the other casings. This allowed me to start with an undersized dent ball and work up to the correct size because there was a lot of damage.

Damaged thread casing

Some of the threads are blown out and some are dented in

Undersized dent ball that I started with and continued to move
up in size to get to the finished size
After the casing was back to round I checked to see if there was damage to the lead thread. In this case there was no damage and I could proceed by using the cap to chase any damaged threads. I put the cap on and once I felt any resistance I tapped the cap with my rawhide hammer. This allowed the threads to form to the threads in the cap. After chasing the threads to the bottom my thread repair was finished.

Finished threads back to round, threads in the cap fit nicely
and the cap is easy to remove
I also worked on casing dents. Casing dents can cause a piston to perform poorly. When working with a casing dent the first thing is to remove the piston as carefully as possible and not cause more damage to the piston or casing. Once the piston is removed I inspected the dent.

Dent on the second casing below the slide tube

The dent is causing the second piston to get
stuck lower than the other pistons

You can see the light reflecting off the raised area where the
dent is

After inspecting the dent I used a ground casing mandrel that coordinated with the make of the instrument and multiple hammers. I started with the rawhide hammer and a utility hammer to hit the rawhide which was over the dent. Then I moved to the small delrin and I finished the area with a small steel dent hammer.

The finished dent. The high spots have been pushed down and
the piston works in the casing

Monday, January 16, 2012

Band Instrument Repair Program News Special

Our BIR program was featured on KSTP channel 5 news On The Road With Jason Davis. He shows what we do in class and how the instructors interact with us. Check out the video by using this link

http://southeastmn.edu/news/blog.aspx?id=2244&blogid=148

Second Semester: Week 1

The beginning of second semester means that we switched back to the brass side. The focus of this semester is getting us ready for bench tests and continuing our learning. We will be learning about rotor valves and trombone hand slides. I received a cornet bell to do a bench test on. I had to solder a patch, take out a bell fold, stem dents and bow dents. We also made two new tools which are explained under the tool tab. French horns were passed out for us to play. We practiced as a class and made some interesting noises. The french horn is going to be fun to play!

Bench test cornet not buffed

Test patch soldered and buffed

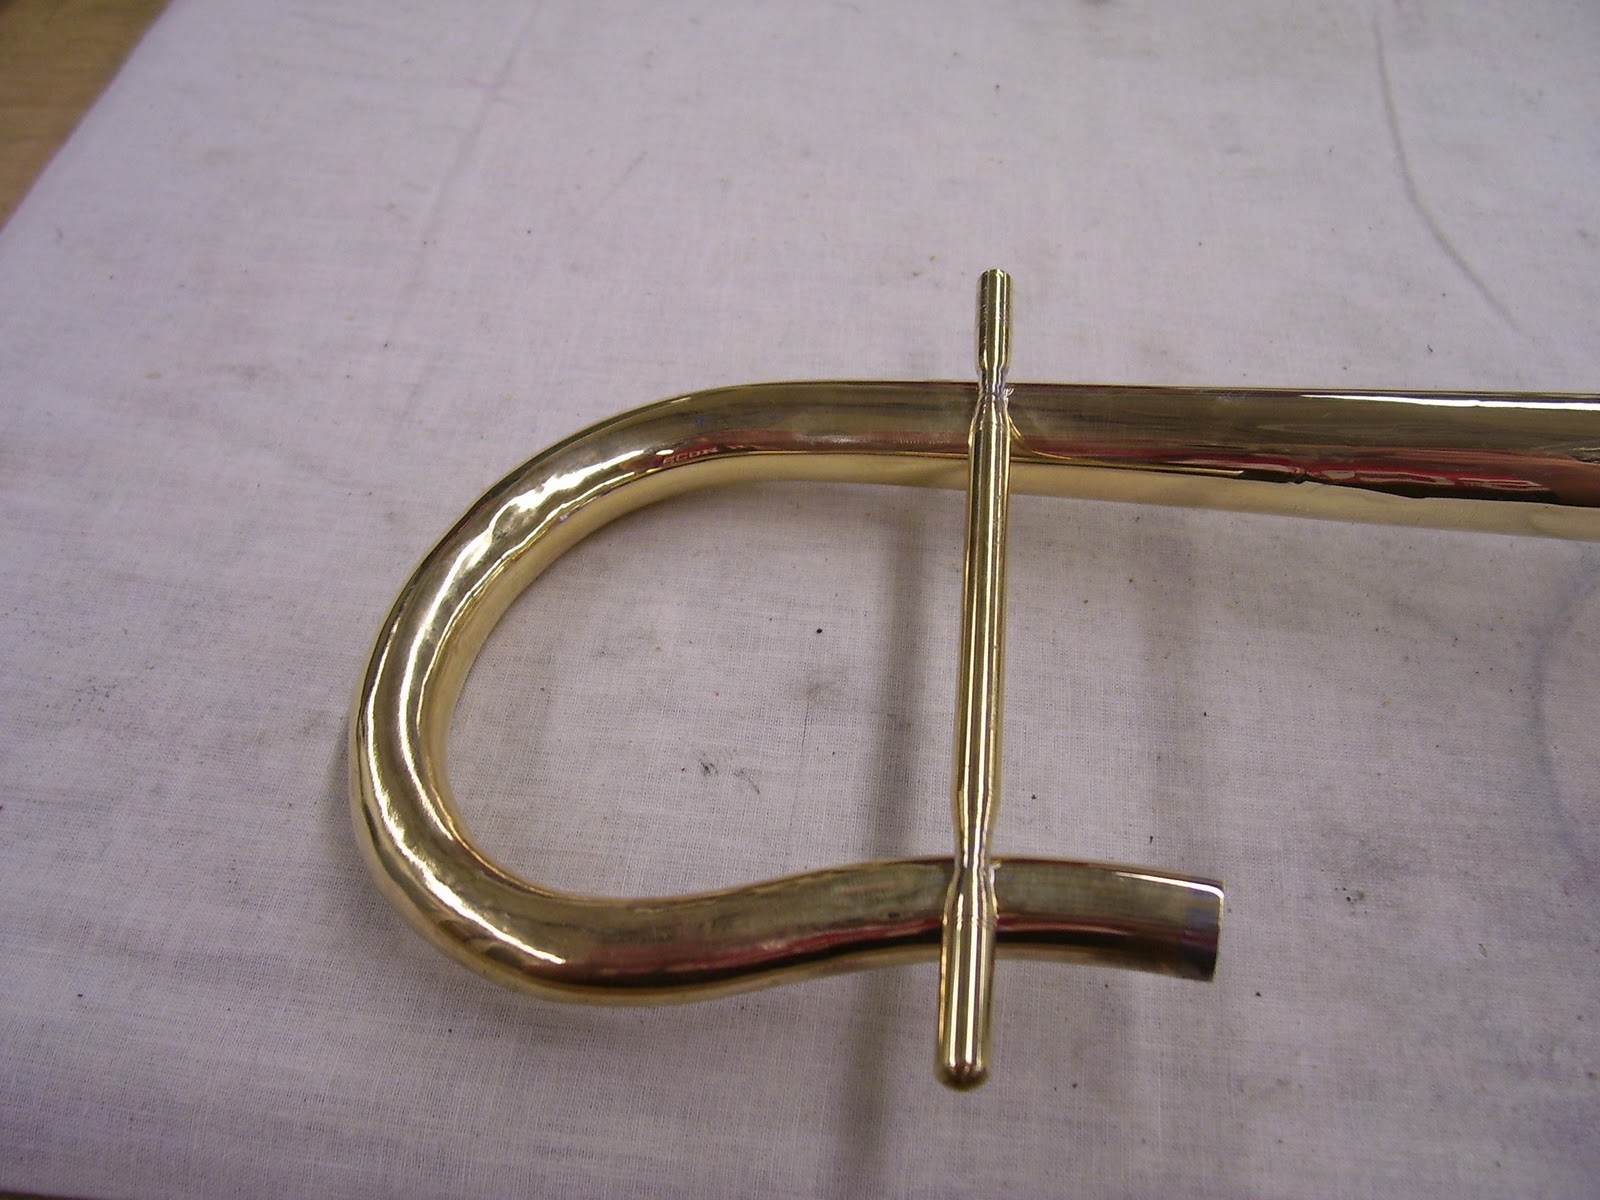
Brace added for support when working on the bow

Before the dents were added

My methods french horn I get to play!